MEG Registry Workshop, Exercise 2
MEG Registry Workshop, Exercise 2
1. IntroductionIf you have an existing metadata element set in mind and want to create a description of that Element Set, then feel free to do so. If you want to work on an imaginary example, then assume that the Dublin Core Metadata Element Set has not been developed and create a description of a simple metadata Element Set to support the discovery of a wide range of resources. Don't worry too much at this point about describing every detail of every Element of your Element Set. Select four or five Elements you want to describe, preferably some of which you could associate with Encoding Schemes. The aim of the exercise is to become familiar with aspects of the data model, and the relationships between different types of resource, and with the features of the client tool. 2. Describe an Agency that regulates an Element SetElement Sets, Encoding Schemes and Application Profiles must be associated with an Agency that is responsible for the management of that resource. The client application works on the basis that multiple Element Sets, Encoding Schemes and Application Profiles can be described in the same Schema, but within a single Schema, all the Element Sets, Encoding Schemes and Application Profiles described are associated with a single Agency. The first step in working on a new Schema is to create a description of the Agency. The other functions on the main document window are not available until an Agency description is created. Click the "Edit Agency" button. The Agency details form appears in a separate window For the purposes of this workshop, you can either use your own organisation or project as an Agency, or if you prefer, use an imaginary body for these exercises. You must supply an identifier (URI) for your Agency. This is the only point at which the client requests you to supply a URI: default identifiers for other resources are generated. If your Agency does not have a URI (which is probably the case!), assign it a URI like: replacing You must supply a name for your Agency. 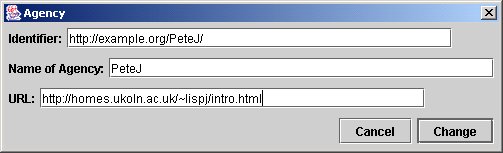
Click the "Change" button. The Agency details window closes and the main document window is updated with the name of your Agency. This main document window shows the contents of your current Schema, currently empty except for the description of the Agency which you just created. All the resources described will be associated with the Agency whose name appears in the header. 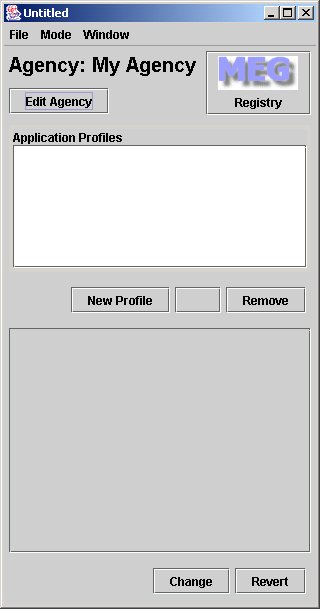
The second window is a search window. 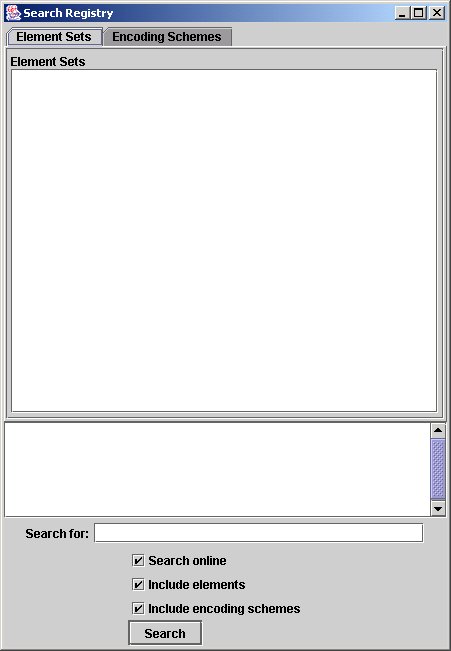
We will not use this search window in this exercise, but we shall see later that it is the main mechanism for "reusing" existing resources and describing relationships between the resources you describe and the resources described by other Schema creators. 3. Describe an Element SetSelect the "Advanced" mode on the "Mode" menu. (The default "Simple" mode allows you to work only with Application Profiles.) The main window will change to show three boxes, for Application Profiles, Element Sets and Encoding Schemes (instead of just the one for Application Profiles). 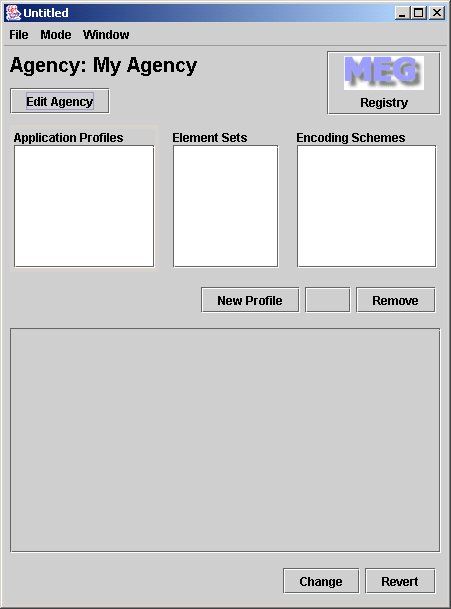
Click in the heading "Element Sets" to select that as the type of resource to describe, and then click "New Element Set". A node for the Element Set (currently untitled) appears highlighted in the Element Set box, and the Element Set details form appears below. Note that the client has provided a default identifier (based on the identifier of the Agency). For this exercise, leave that default identifier unedited. Complete the description of your Element Set. N.B. This is a description of the Element Set as a whole, rather than the individual constituent Elements. Press "Change" and notice that the node in the Element Set box is still highlighted and it now shows the name you assigned to your Element Set. 3. Describe the Elements in an Element SetWith the node for your Element Set still selected, click "Add Element". A node for an Element (currently untitled) appears as a "child" of the Element Set node in the Element Set box, and the Element details form appears below. Again, the client has provided a default identifier. Again, for this exercise, leave that default identifier unedited. Complete the description of your Element. Press "Change" and notice that the Element node in the Element Set box now shows the name you assigned to your Element. Click on the node for the Element Set so that it is highlighted again, and repeat section 3 to add a description of each Element in your Element Set 4. Save the descriptions of your Element Set (and its Elements) as a SchemaSo far, you have been building up descriptions of your Element Set and its Elements in the current Schema. The nodes in the boxes in the centre of the main window show the resources you have described. This information has not so far been stored in a file. You are in the same position as if you had started editing a new document using a word processor programme, but you have not yet saved the file to disk for the first time. Use the File -- Save menu command to save your Schema. You should be prompted for a name for your Schema document. Assign it a filename of After you have saved the file, you should see that the name of the file appears in the title bar of the main document window. Note: As with any other file editing application, it is good practice to save your work to file at regular intervals, especially during a lengthy editing session. 5. Submit the descriptions of your Element Set (and its Elements) to the RegistryYou have now saved the descriptions of your Element Set and its Elements as a Schema. You now have the information stored in a file, but the descriptions have not yet been submitted to the registry. To submit the descriptions in the current file, click the "MEG Registry" logo in the upper right of the main document window. A new submission window opens, providing information on the number of resource descriptions to be submitted. Each Element Set and Element, as well as the Agency itself, counts as a resource. Press "OK" to submit. Note: The client counts (and submits) only those descriptions that have been altered during the current session. The client should now send the descriptions to the server and the submission window should display a message indicating the outcome of the operation. 6. Browse the descriptions of your Element Set (and its Elements) in the RegistryOpen a Web browser and go to the main menu of the registry: From the main menu, go to the Agency browse page. You should see an entry for your Agency. Follow the "details" link to open the details page for that Agency. The Agency details page includes a list of the Element Sets owned by this Agency. That list should consist of one entry, for the Element Set you described. Follow the "details" link to open the details page for that Element Set. The Element Set details page includes a list of the Elements of this Element Set. Follow the "details" link to open the details page for an individual Element. |
Exercises
|